Get Creative this Summer: Fun Crafts for Summer Camp
Summer camp is the perfect opportunity for kids to explore their creativity and express themselves through art. Crafting is not only fun, but it can also help with children's focus and problem-solving skills. In this blog post, we'll share some fun and easy craft ideas that will keep your kids entertained during summer camp and help them tap into their inner artist.
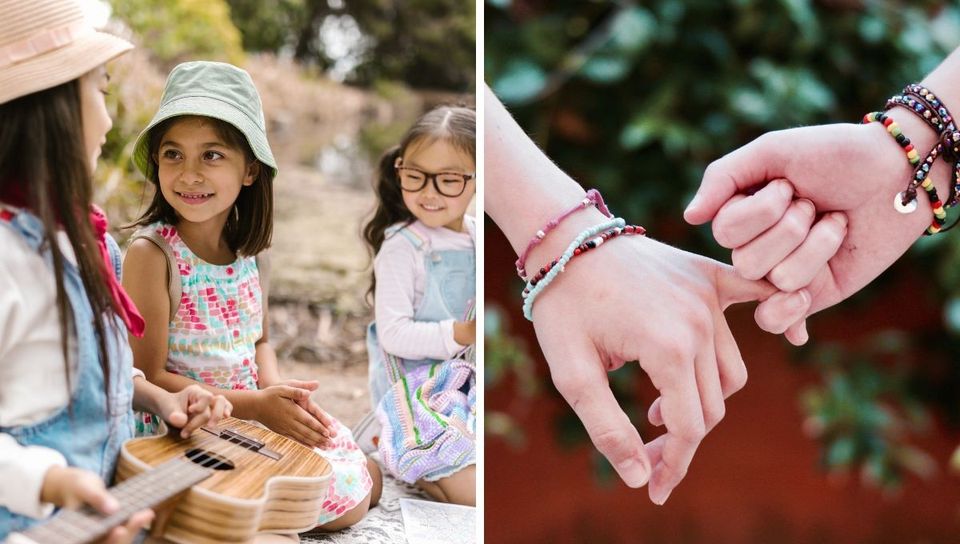
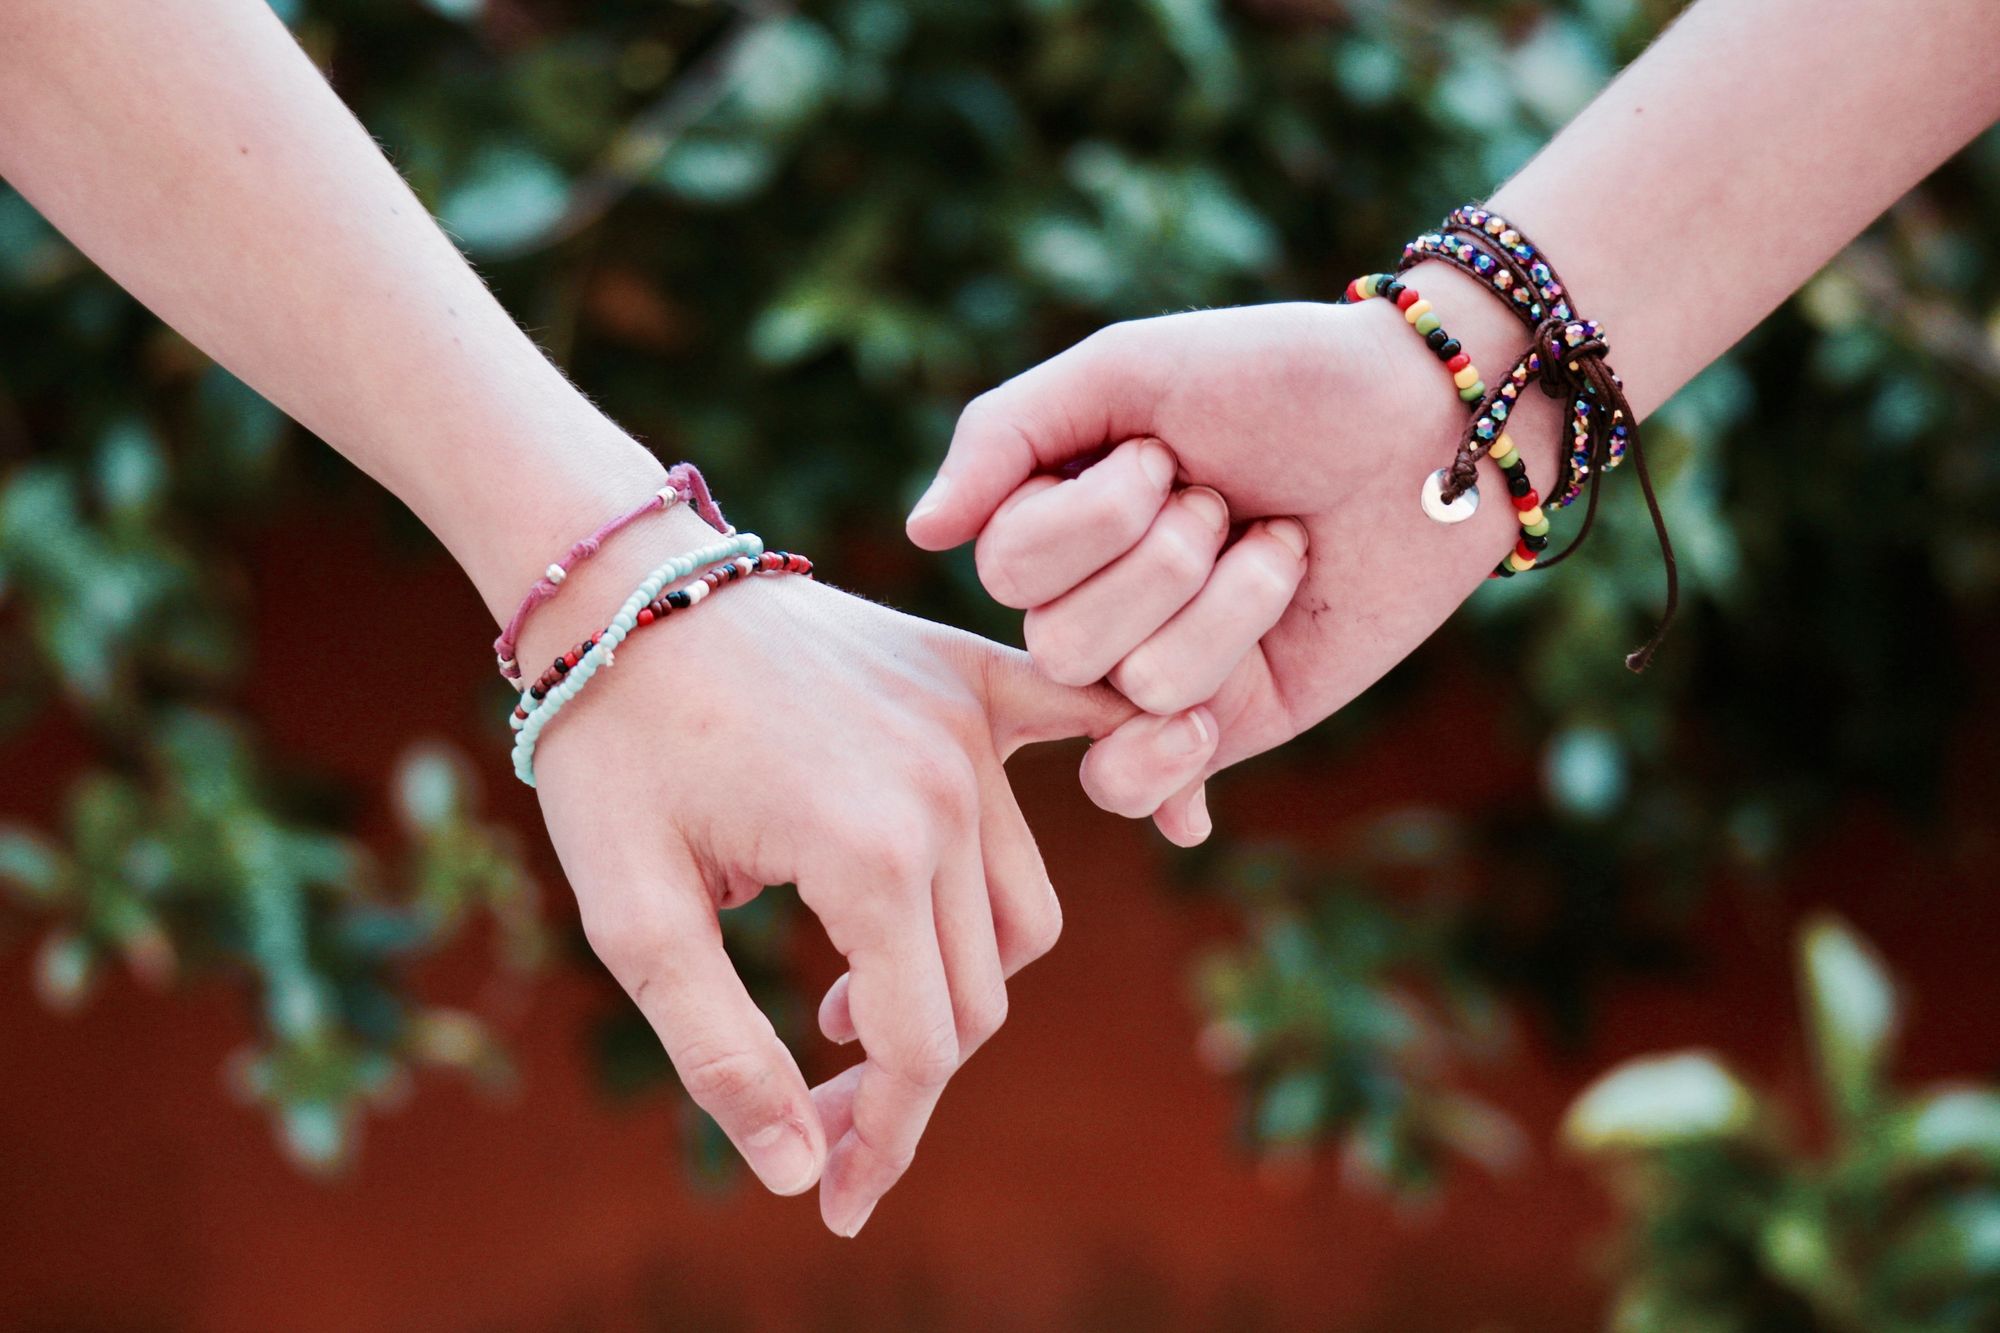
Friendship Bracelets
Friendship bracelets are a classic summer camp craft that never goes out of style. All you need is some colorful thread, and you're ready to get started. Teach your kids some basic knots to create simple braided bracelets, or challenge them to more complex patterns. Not only are they a fun craft to make, but they're also a great way to teach kids the value of friendship and teamwork.
How Do You Make Friendship Bracelets
Materials needed:
Embroidery floss in various colors (3-4 per bracelet)
Scissors
Tape or clipboard
Instructions:
Choose your colors! You will need 3-4 different colors of embroidery floss for each bracelet.
- Cut a length of each color that is about 60 inches long.
- Tie a knot at one end of the strands and tape it to a flat surface, such as a table.
- Arrange the strands so that they are in the order you want to use them. For example, if you have chosen blue, green, and yellow, arrange them in that order.
- Take the strand on the left side (in this case, blue) and make a "4" shape over the other strands.
- Take the strand on the right side (yellow) and thread it through the loop created by the blue strand.
- Pull both strands tight to create a knot.
- Repeat steps 5-7, but start with the yellow strand instead of the blue. This time, the yellow strand will create the "4" shape and the blue strand will be threaded through the loop.
- Continue alternating between starting with the left and right strands until your bracelet is the desired length.
- When you have finished the bracelet, tie a knot at the end and trim any excess strands.
There are many variations of friendship bracelets, so feel free to experiment with different patterns and techniques!
Tie Dye
Who doesn't love a colorful tie-dye t-shirt? This classic summer camp activity never gets old. All you need is some fabric dye and a white t-shirt. Let your kids get creative and choose their favorite colors and patterns to create unique, one-of-a-kind shirts. Tie-dyeing is not only a fun craft, but it's also a valuable lesson in creativity and imagination.

Making tie-dyed shirts is a fun and creative way to express yourself through fashion. Here are some step-by-step instructions on how to make your own tie-dye shirts:
Materials you'll need
- White cotton shirt
- Tie-dye kit
- Rubber bands
- Plastic gloves
Instructions
Pre-wash your shirt before dyeing to remove any sizing or dirt that may interfere with the dyeing process.
Prepare your dye according to the instructions on the tie-dye kit.
Lay your shirt flat on a surface and begin to create your desired design with rubber bands. You can try different techniques like folding, twisting, or scrunching the fabric to achieve various patterns.
Once you have your design secured with rubber bands, put on plastic gloves and start applying the dye onto your shirt. Make sure to saturate all areas of your shirt with the dye.
After dyeing, wrap your shirt in plastic wrap or put it in a plastic bag to keep it moist, and then let it sit for 6-8 hours.
After the waiting time has elapsed, rinse the shirt until the water runs clear.
Cut off the rubber bands and wash your shirt in cold water using a mild detergent. Do not wash with other clothes as the dye may stain them.
Dry your shirt away from direct sunlight to avoid fading and shrinking.
Enjoy your newly tie-dyed masterpiece!
Nature Crafts
Summer camp is a great opportunity to get back to nature and create beautiful crafts from natural materials. Take your kids on a nature walk, collect leaves, twigs, and flowers, and use them to create beautiful art projects.
You can make leaf rubbings, twig sculptures, flower crowns, or even create your own nature journals. Nature crafts are not only fun, but they're also a great way to teach kids about the environment and instill a love of nature.
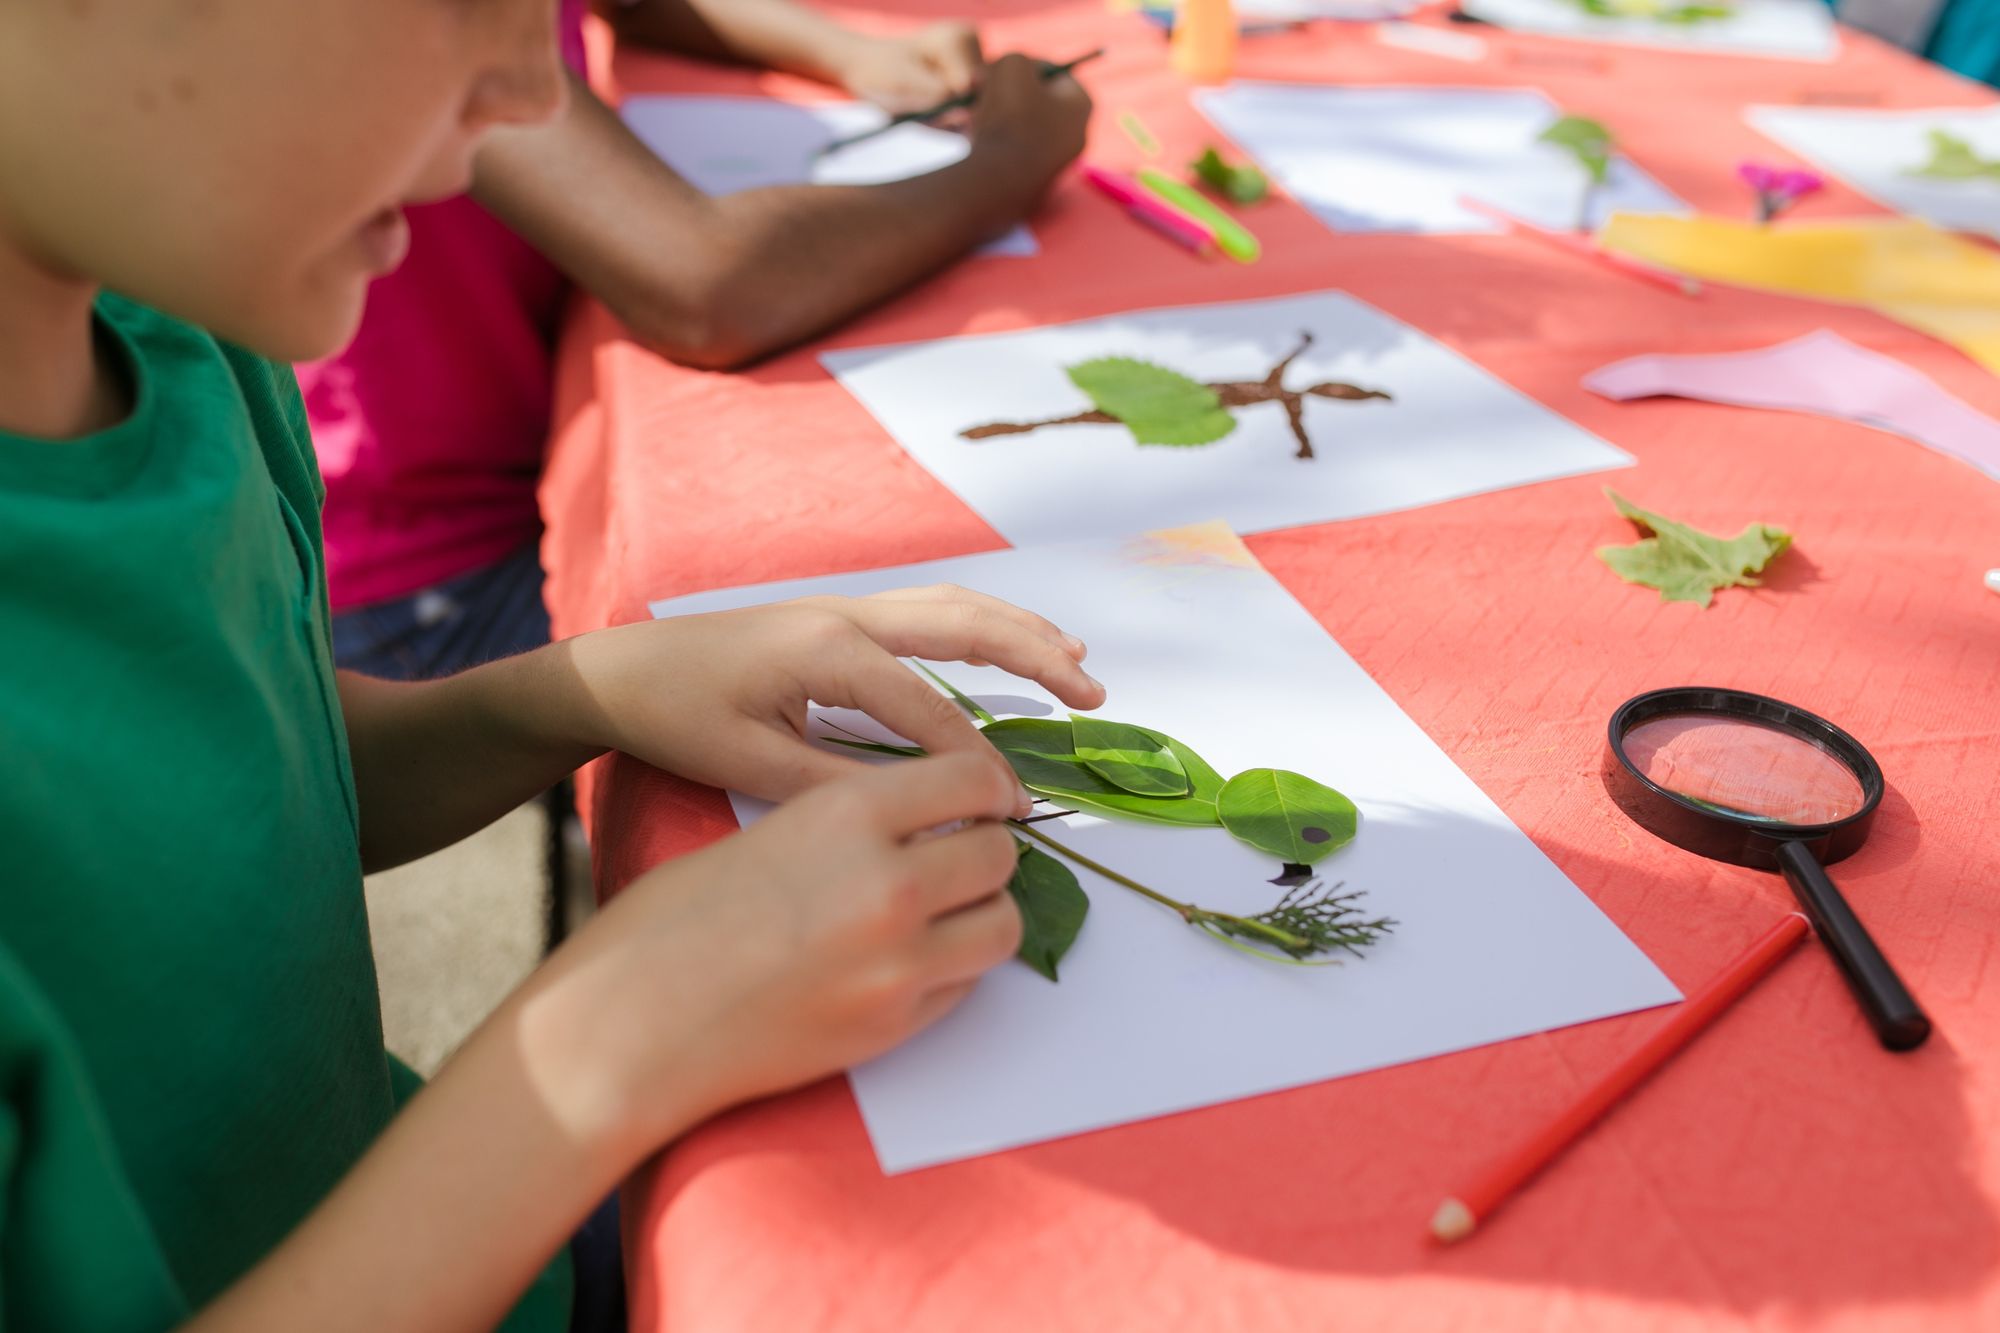
Creating art from leaves is a fun and creative way to explore nature and express your artistic side.
Here are some steps to get started
Collect leaves: Go outside and collect a variety of leaves in different shapes, sizes, and colors. Look for leaves that are not too dry or brittle.
Prepare your workspace: Lay out a flat surface and cover it with a piece of paper or a tablecloth to protect it from stains or scratches.
Choose a design: Think about what kind of design you want to create. You can use the leaves to make a nature scene, a still life, or an abstract pattern.
Arrange the leaves: Play around with different arrangements of the leaves until you find a composition you like. Try overlapping the leaves, arranging them in a circle, or making a border.
Glue the leaves: Use a small amount of glue or tape to secure the leaves in place. Be careful not to use too much glue as it can cause the leaves to wrinkle or curl.
Add details: Once the leaves are glued down, you can add details with pens, markers, or paint. You can draw veins on the leaves, add shadows or highlights, or create a background.
Let it dry: Allow the artwork to dry completely before handling it. You can frame it or display it on a shelf.
Creating art from leaves is a fun and easy way to connect with nature and explore your creativity. Give it a try and see what beautiful designs you can come up with!
Paper Crafts
Paper crafts are a great way to keep kids entertained on a rainy day or during downtime at summer camp. Teach your kids how to make paper boats, origami animals, or even personalized photo albums. Paper crafts are not only fun, but they're also great for improving kids' fine motor skills and hand-eye coordination.
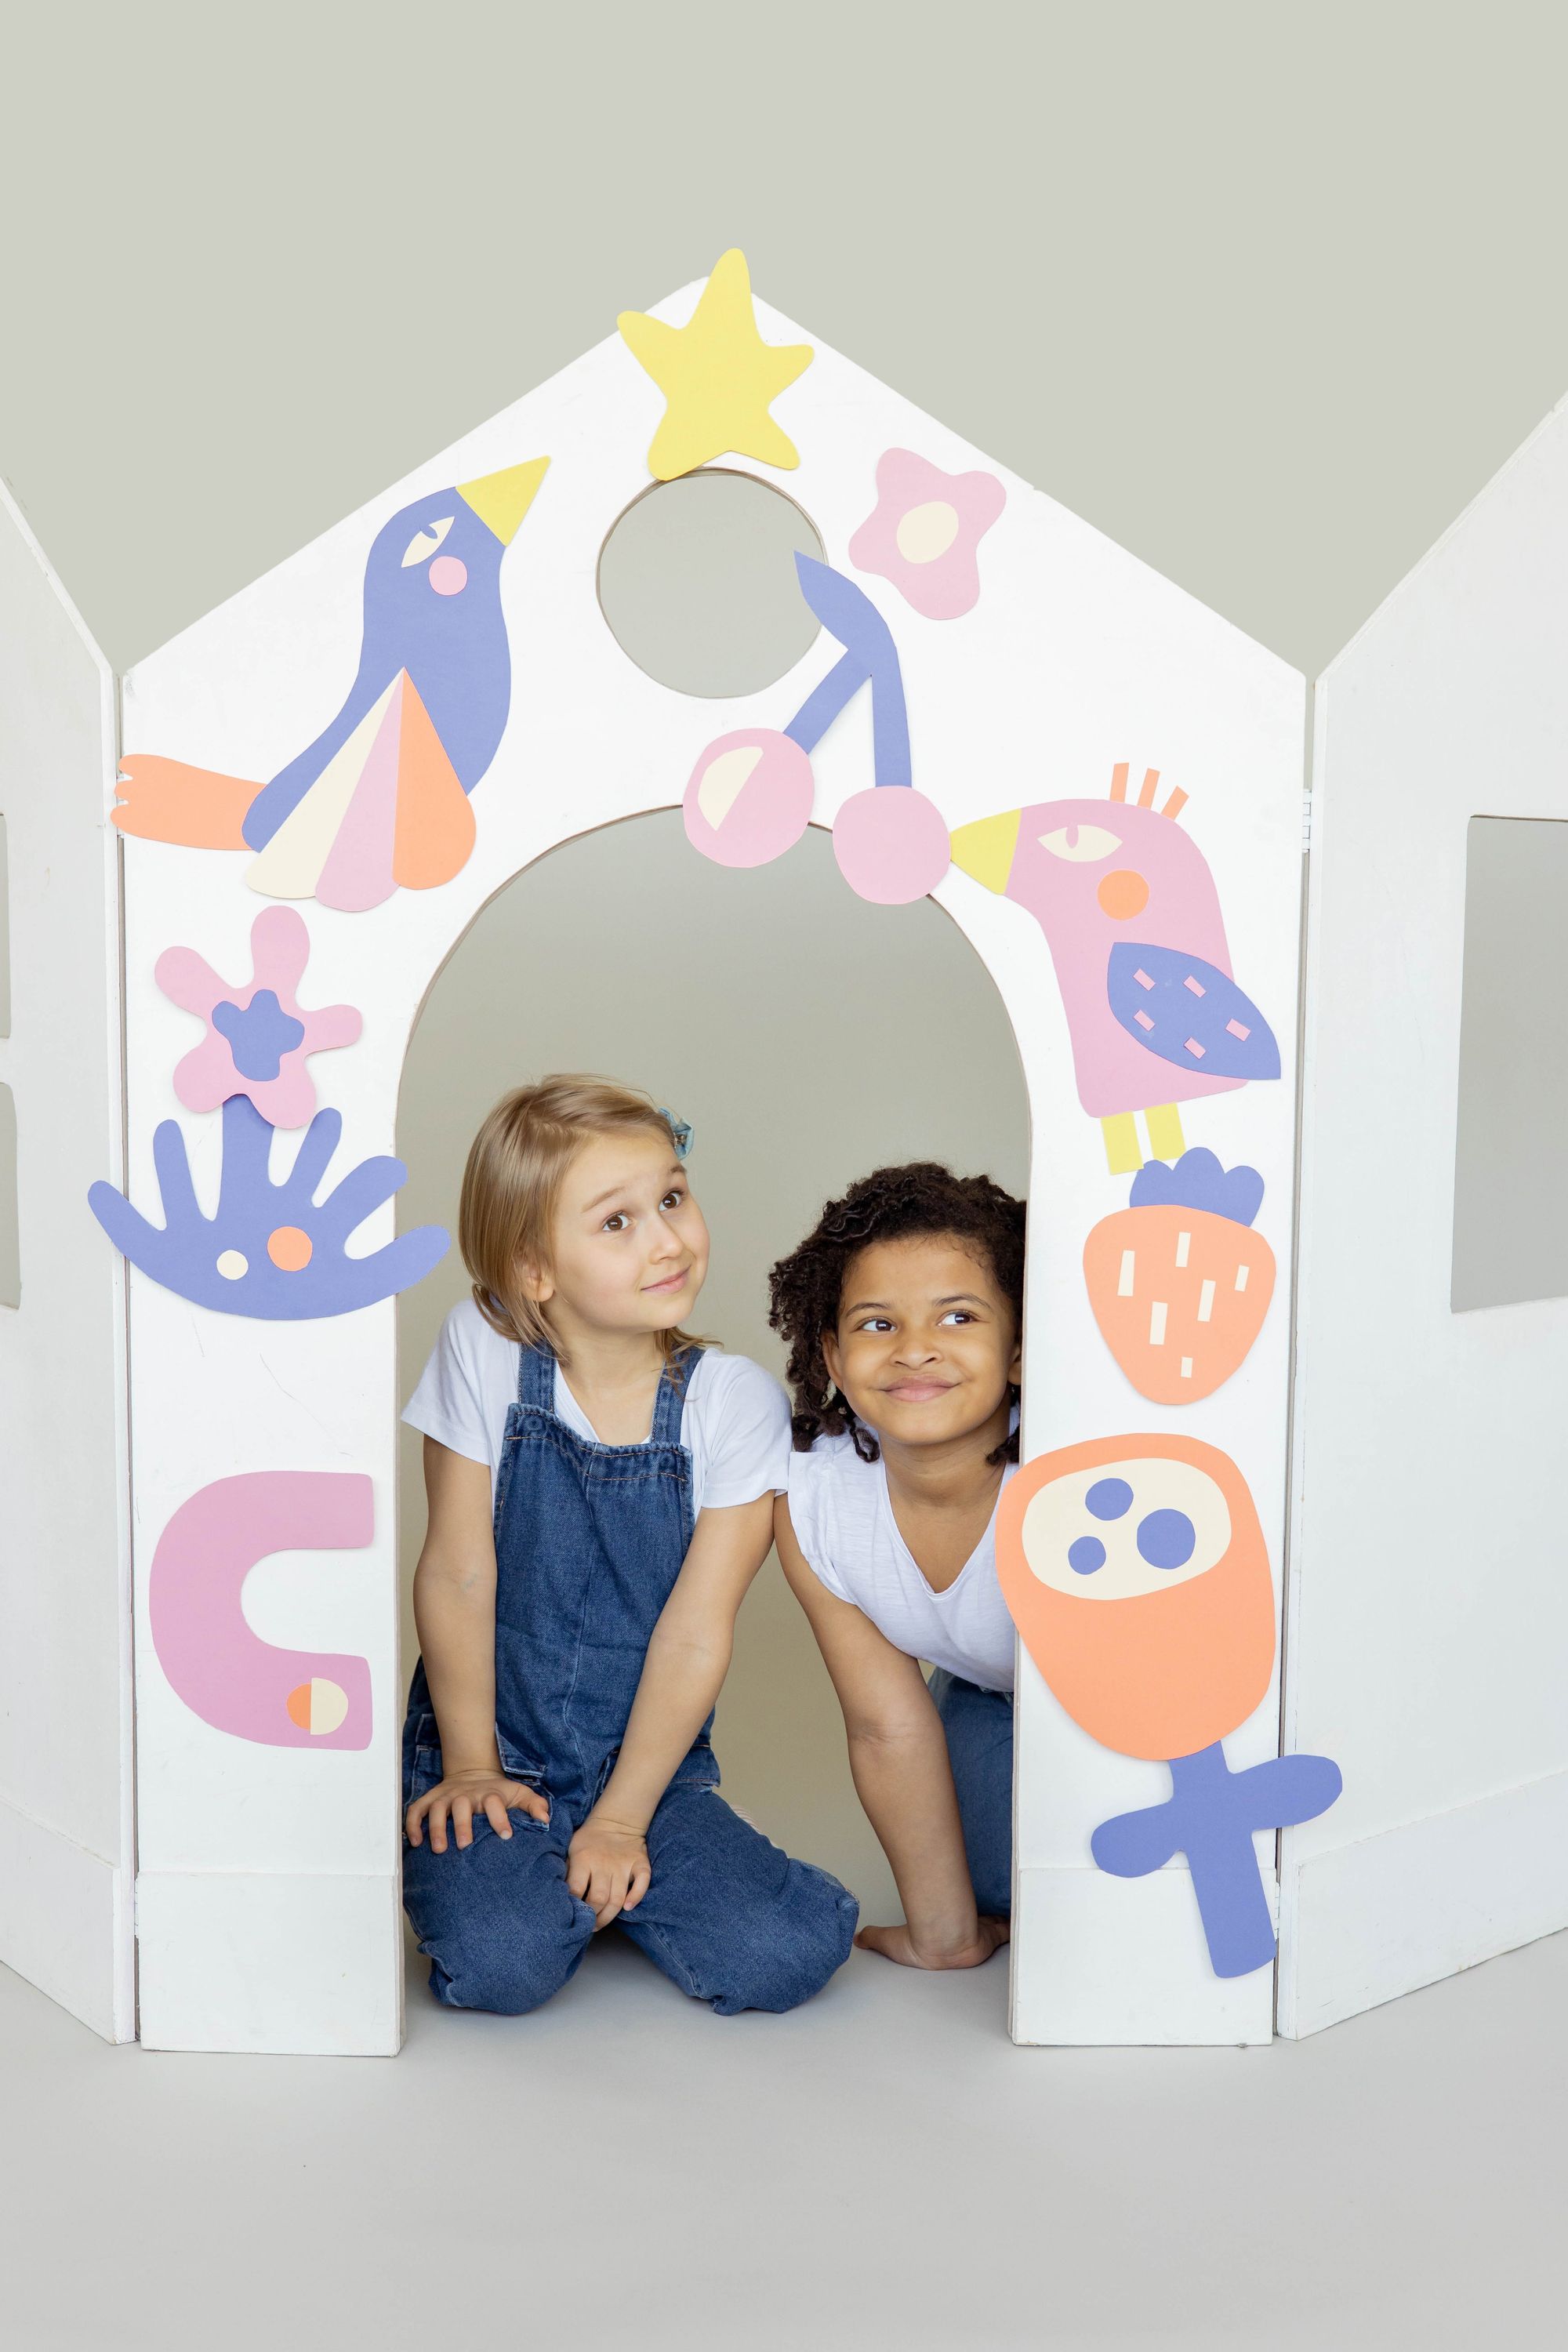
Making a child's house from cardboard and paper can be a fun and creative project for both you and your child.
Here are the steps to follow
Materials:
- Construction paper
- Cardboard box
- Scissors
- Glue
- Tape
- Markers or crayons
Instructions:
Start by choosing a cardboard box that is large enough to fit your child inside comfortably. You can use an old shipping box or a moving box.
Cut off the top flaps of the box using scissors. This will create the roof of the house.
Cut a rectangular door shape in one of the sides of the box, leaving the top and bottom edges intact.
Use construction paper to cover the box, gluing it securely in place with glue or tape. You can use different colors of paper to create a fun and colorful design for the house.
Cut out windows in the sides of the box using scissors. You can create shutters or curtains using construction paper to add more detail to the windows.
Use markers or crayons to draw fun designs on the outside of the house. Your child can help with this part and add their own personal touch to the house.
If desired, you can add additional details to the house such as a chimney or flower boxes using construction paper and glue.
Once the house is complete, it's ready for your child to play in! They can decorate the inside of the house with pillows and blankets to create a cozy space.
Making a cardboard house is a great way to encourage creativity, imagination, and play in your child. It's also a fun activity that you can do together as a family. Have fun creating your child's dream house!
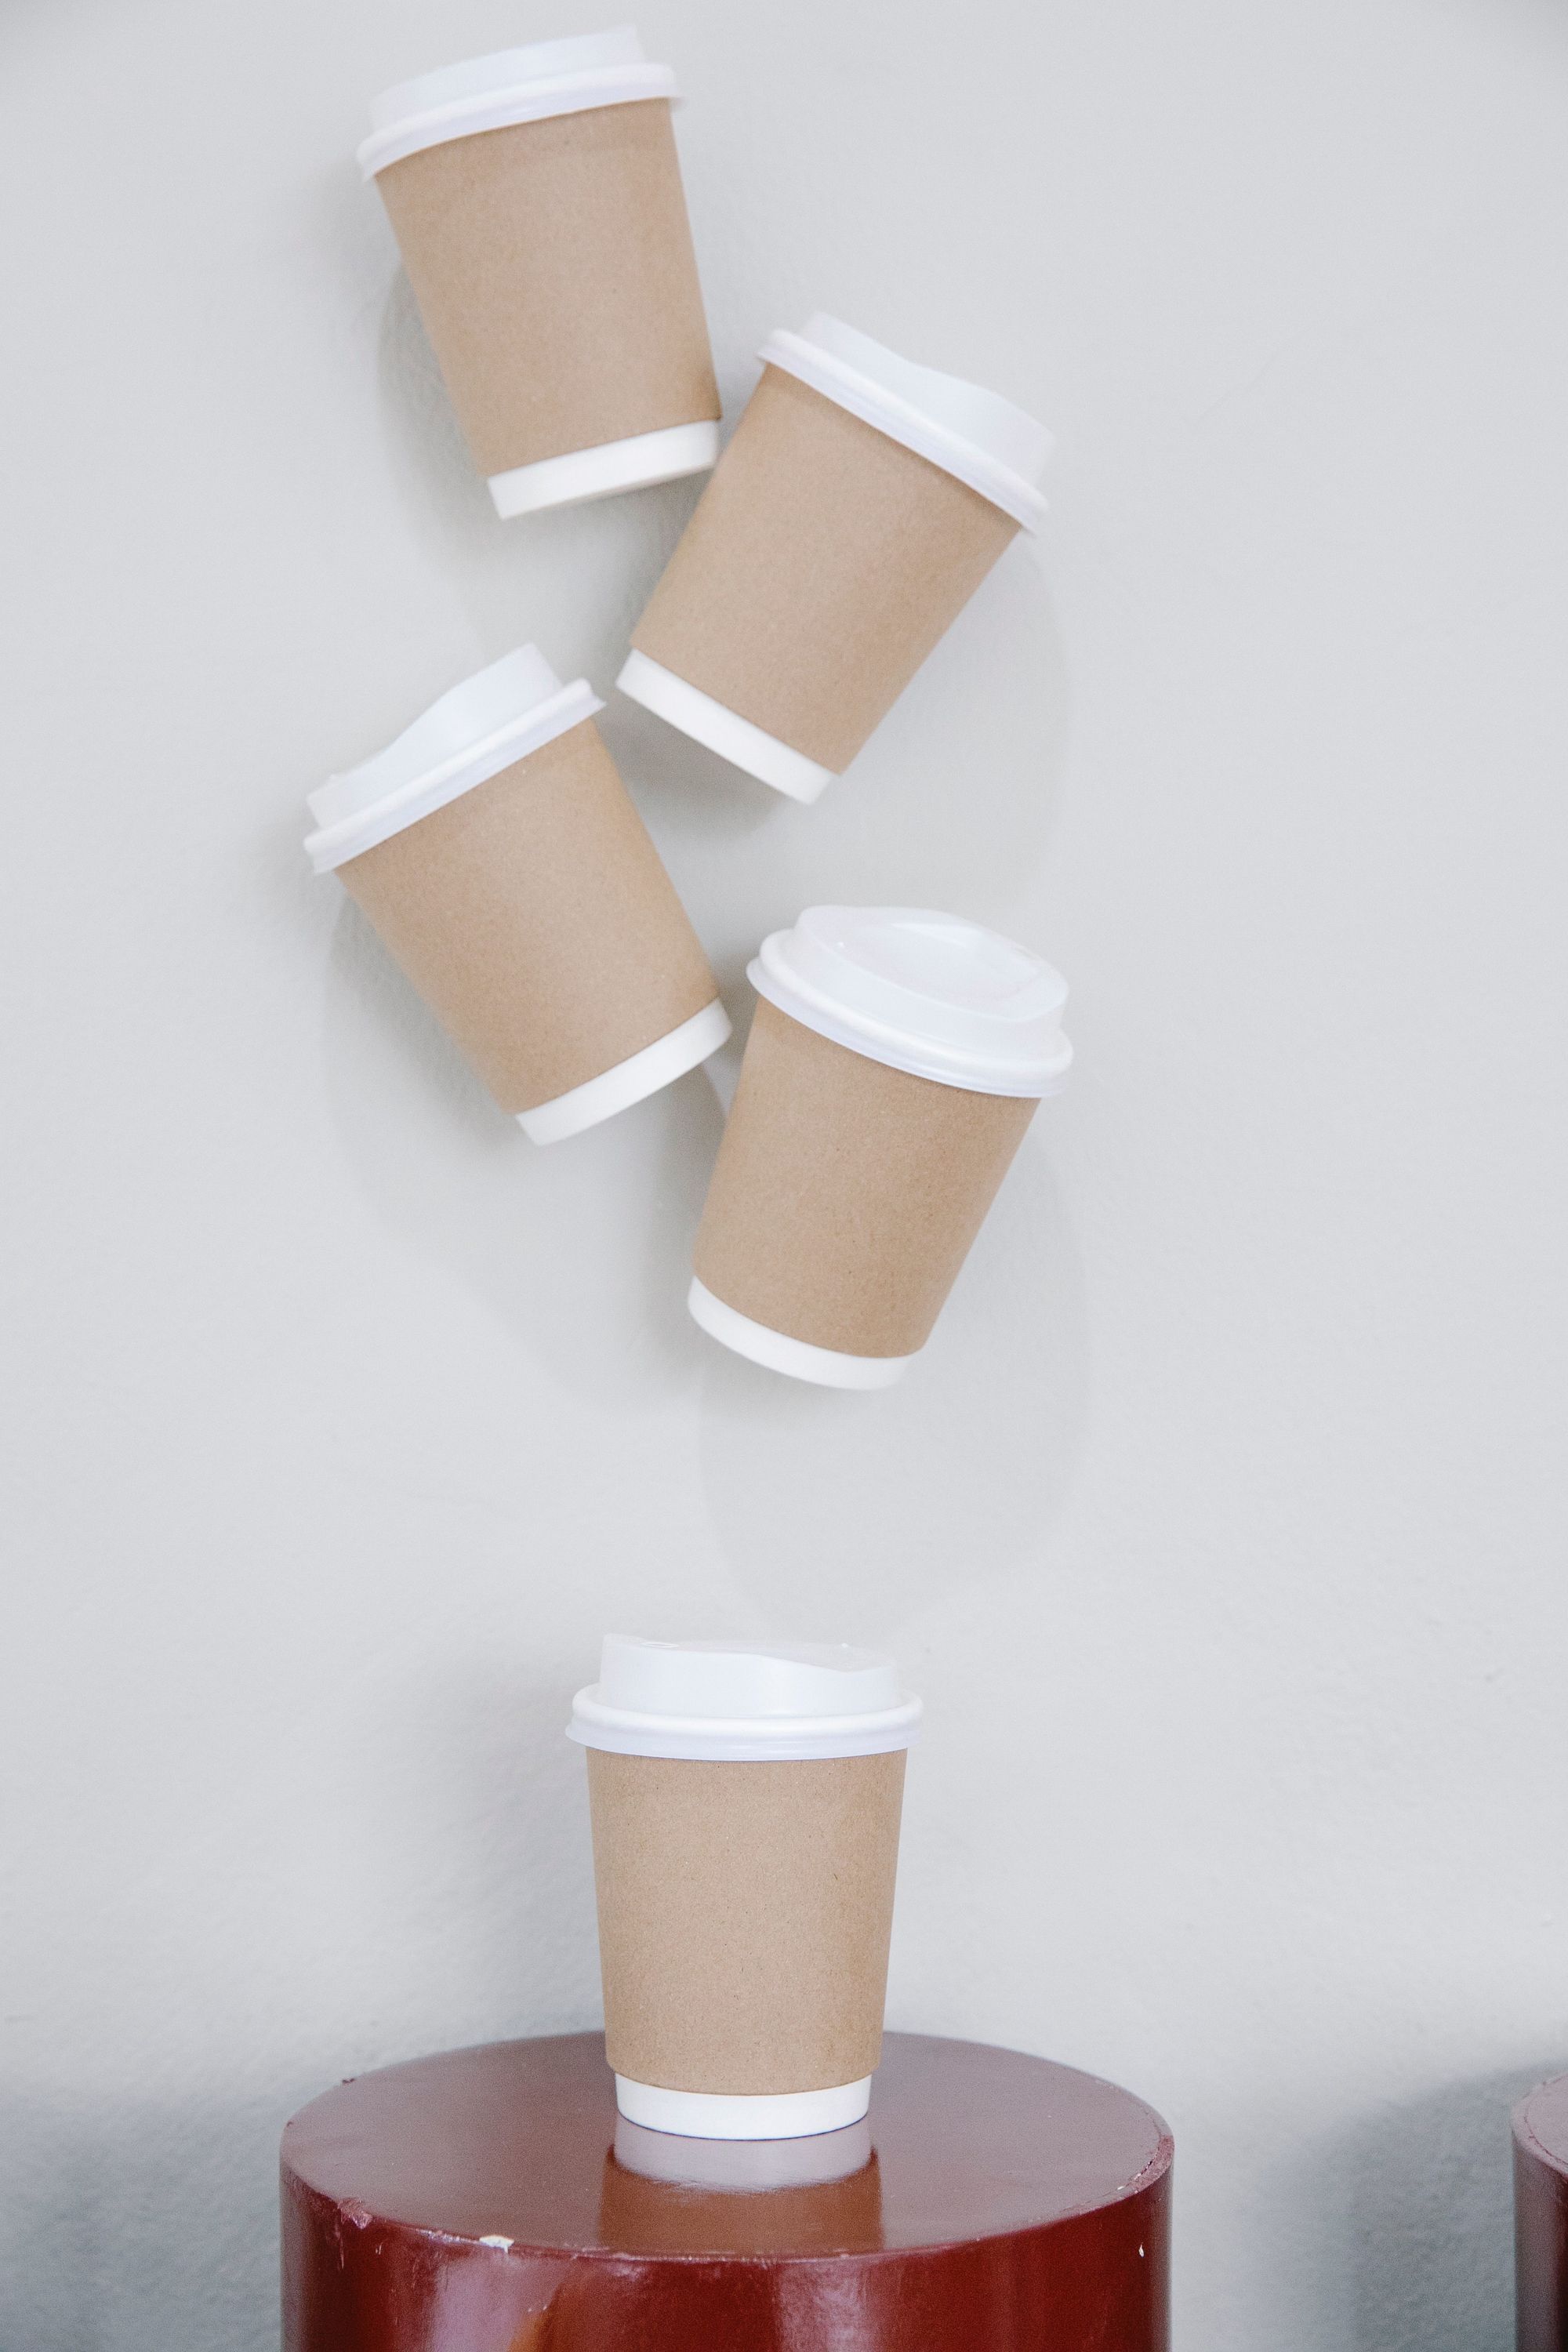
Recycled Crafts
Recycled crafts are a great way to teach kids about the importance of reducing waste and preserving our planet. Take some old magazines, cardboard boxes, coffee cups or even plastic bottles and turn them into something new and beautiful.
You can create sculptures, picture frames, or even musical instruments. Recycled crafts are not only fun, but they're also a valuable lesson in sustainability and environmental responsibility.
Sure here are some instructions on how to create art from recycled materials like coffee cups or plastic bottles:
Here are the steps to follow
Collect your materials: Gather all the plastic bottles or coffee cups that you want to use for your art project. Make sure to wash and clean them thoroughly before getting started.
Plan your design: Think about what you want to create with your recycled materials. You can create sculptures, wall art, or even functional objects like lamps or planters. Sketch out your design if needed.
Prep your materials: Cut or shape your recycled materials as needed to fit your design. You can use scissors, a craft knife, or heat to manipulate the materials.
Assemble your art: Use glue, tape, or wire to connect your recycled materials together. Experiment with different techniques to create unique textures and shapes.
Add finishing touches: Once your art piece is assembled, you can add paint, markers, or other embellishments to enhance its appearance. Make it your own!
Display your art: Find a great spot to display your art piece and enjoy your creation for years to come. Don't forget to share it with your friends and family to inspire them to make their own art from recycled materials.
Conclusion
Summer camp is the perfect opportunity for kids to explore their creativity and learn new skills. Crafting is not only fun, but it's also a great way to teach children valuable lessons about teamwork, creativity, and environmental responsibility.
So this summer, don't be afraid to get creative and try out some of these fun and easy craft ideas. Who knows, you might just discover a new hobby or interest that will last a lifetime!